LEGO MINDSTORMS Robot Inventor
Sensor Meter
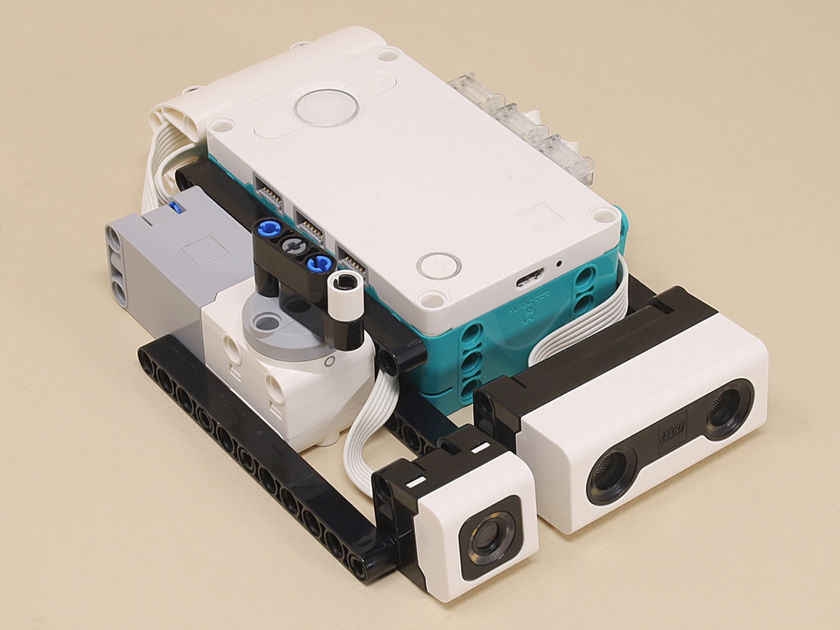
This handheld device uses several different sensors to measure and graph values on the display. You can use it to experiment with how the various sensors behave.
A sophisticated program is included that has 9 different modes to measure various sensor values over time. Several of the modes display a scrolling bar graph that shows the relative value of the last reading as well as the last 4 values before that. You can even adjust the sampling rate (number of samples taken and plotted per second) using the twist knob on the motor. See the programming notes for details on the various modes.
Using the Multimeter Program
The Multimeter program has 9 modes that work as explained below. You change modes by pressing the left and right buttons on the hub once the program is running. Several modes show a scrolling bar graph where the newest reading is shown on the far right and the previous readings are scrolled to the left. Where applicable, you can control the sampling rate (number of sensor readings taken and plotted per second) with the twist knob on the motor. The rate can adjust from a slow as 1 reading per second to as fast as 100 readings per second (or as fast as the sensor and program can respond).
(L) Light Mode: The color of the center button is set by the color that the color sensor sees, and the pixel display shows a scrolling bar graph of the relative intensity of reflected light sensed. You can try this on the Color Bar to start with. Note that the color sensor likes the colors to be very close or even touching the sensor.
(D) Distance Mode: The pixel display shows a scrolling bar graph of relative distance seen by the distance sensor from approximately 5 cm to 50 cm. A longer bar means a closer distance.
(R) Random Mode. The pixel display shows a scrolling bar graph of random numbers from 1 to 5 generated by the hub's random number generator.
(P) Position Mode. The pixel display shows a scrolling bar graph of the relative angular position of the twist knob. The twist range is 90 degrees left and right of center. The sampling rate is fixed at 10 samples per second.
(S) Speed Mode. The pixel display shows a scrolling bar graph of the relative rotational speed of the twist knob. The sampling rate is fixed at 10 samples per second.
(G) Gesture Mode. The pixel display draws a different graphic or animation for the 3 different motion gestures that the hub can detect:
Tapped - Displays a crosshair
Shaken - Shows a blinking checkerboard animation
Falling (any free fall, try lightly tossing it up) - Displays a downward pointing arrow
(O) Orientation Mode: Displays a number that corresponds to the current orientation of the brick (e.g. 0 is flat face up).
(A) Acceleration Mode: The pixel display shows a single pixel with its x and y position controlled by the acceleration (or tilt) values sensed in the x and y directions. Try tilting the brick around as if rolling the pixel like a ball.
(C) Compass Mode: The pixel display shows an "arrow" indicator that starts out pointing straight "up" on the display then turns as necessary to continue to point in this direction as the brick is rotated around like a compass. This uses the hub's internal gyro sensor. Note: If the compass gyro doesn't appear to work, try this workaround.


